The Honeywell TH8321WF1001 installation manual provides a comprehensive guide for installing the VisionPro 8000 series thermostat, ensuring proper setup and configuration for optimal performance and functionality.
Overview of the Thermostat and Its Features
The Honeywell TH8321WF1001 is a Wi-Fi-enabled, touch-screen programmable thermostat from the VisionPro 8000 series. It offers advanced features like remote access via the Honeywell Home app, smart response technology for optimal heating and cooling, and geofencing capabilities. The thermostat supports multiple HVAC system types, including 1H/1C and 2H/2C configurations. Its high-resolution color display provides an intuitive interface for scheduling, monitoring, and adjusting settings. Additional features include energy usage reporting, indoor air quality (IAQ) management, and compatibility with external sensors for precise temperature control. Designed for energy efficiency and user convenience, the TH8321WF1001 integrates seamlessly with smart home systems, making it a versatile and modern solution for home climate control.
Importance of Proper Installation for Optimal Performance
Proper installation of the Honeywell TH8321WF1001 thermostat is crucial for ensuring optimal performance, safety, and energy efficiency. Incorrect wiring or setup can lead to system malfunctions, reduced efficiency, or even damage to the device. Following the installation manual carefully ensures that all features, such as Wi-Fi connectivity, remote access, and scheduling, function as intended. Moreover, correct installation prevents potential safety hazards, such as electrical issues or improper heating/cooling system operation. Adhering to the guidelines also ensures compliance with manufacturer recommendations, preserving the product warranty. A well-executed installation guarantees reliable operation, accurate temperature control, and seamless integration with smart home systems, ultimately enhancing user experience and energy savings.
Pre-Installation Steps
Before starting, ensure the area is clear, and all necessary tools and materials are available. Review the manual to understand system requirements and compatibility.
Safety Precautions and Power Requirements
Before beginning the installation, ensure the power to the HVAC system is turned off at the circuit breaker or fuse box to avoid electrical shock. Always follow the manual’s guidelines for handling electrical components. Verify that the thermostat is compatible with your system’s voltage and power requirements, typically 24VAC. Avoid touching live wires, and ensure proper grounding for safety. The thermostat operates within a specific temperature range, so check environmental conditions. Adhere to local electrical codes and regulations. If unsure, consult a licensed professional. Proper installation ensures safe and efficient operation of the Honeywell TH8321WF1001 thermostat.
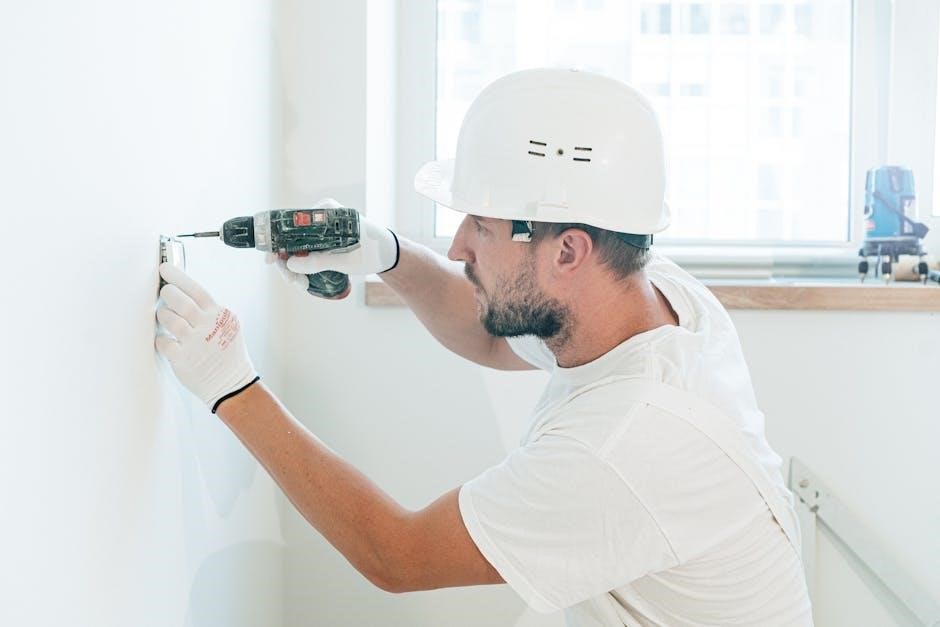
Tools and Materials Needed for Installation
To successfully install the Honeywell TH8321WF1001 thermostat, gather the necessary tools and materials. You will need a screwdriver (both Phillips and flathead), wire strippers for preparing connections, and a drill with bits for wall mounting. A level ensures proper alignment of the wallplate. Additionally, a pencil and marker are handy for marking drill holes and wiring labels. The thermostat kit includes the wallplate, thermostat unit, and mounting screws, but you may need extra wall anchors depending on your wall type. Ensure all wires are compatible with the terminal connections. Refer to the manual for specific requirements and safety guidelines to avoid damage or electrical issues during installation.

Installation Process
The installation involves separating the wallplate from the thermostat, connecting wires to the appropriate terminals, and securely mounting both components. Ensure all connections are tight and correct before powering on the system to avoid malfunctions.
Separating the Wallplate from the Thermostat
To begin the installation, carefully separate the wallplate from the thermostat. For models manufactured after 2019, locate the release button at the top of the wallplate; Press this button firmly and gently pull the wallplate away from the thermostat. For older models without this button, slide the wallplate upwards or downwards to detach it. Ensure the thermostat is held securely to avoid accidental damage. This step is crucial for accessing the wiring terminals and preparing for the mounting process. Once separated, set the wallplate aside in a safe place to prevent loss or damage. Proper handling ensures the thermostat’s components remain intact for a smooth installation. Always refer to the manual for specific guidance tailored to your unit’s design.
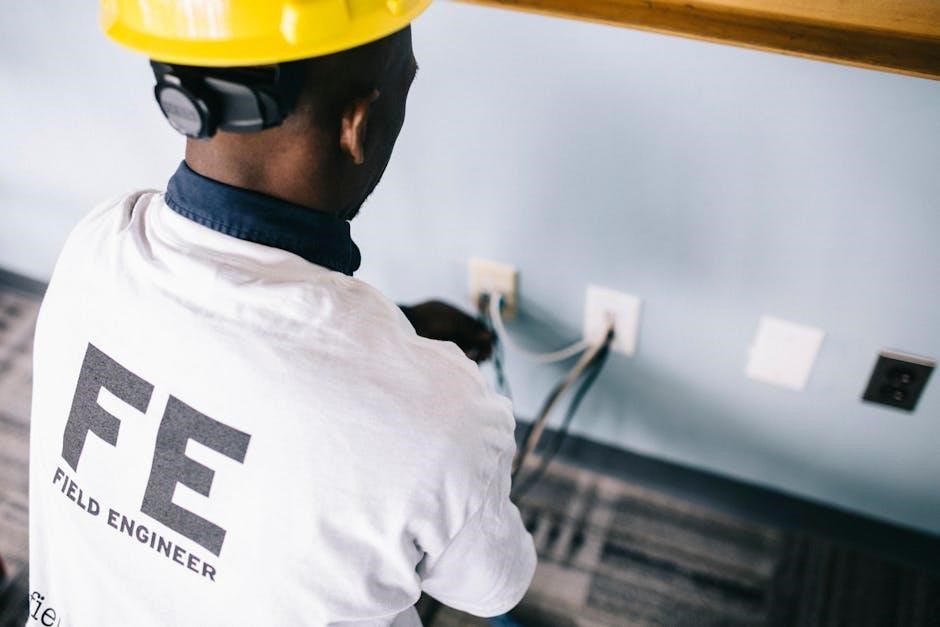
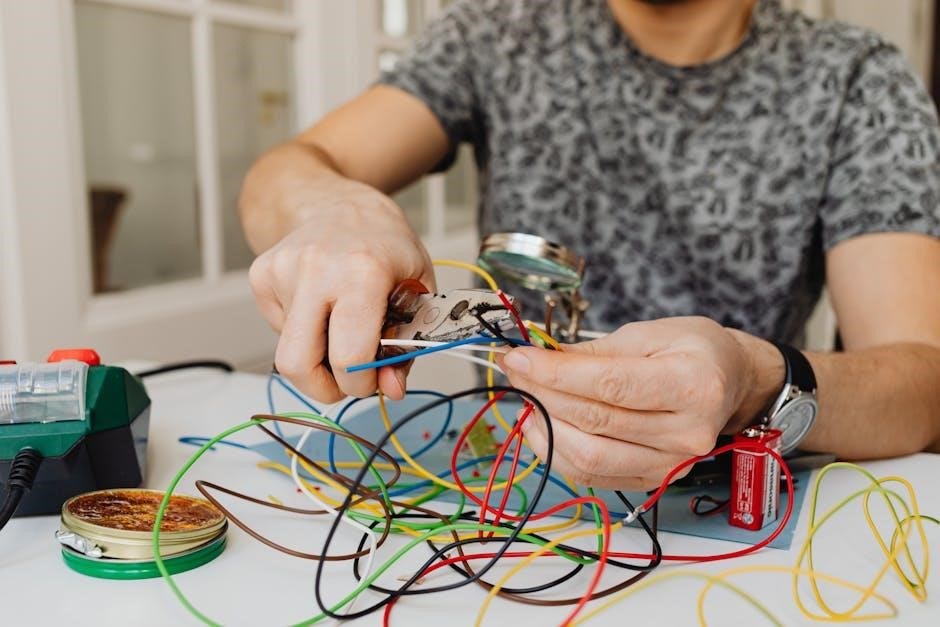
Connecting Wires to the Thermostat
Before connecting wires to the Honeywell TH8321WF1001 thermostat, ensure the power to your HVAC system is turned off at the circuit breaker. Locate the terminal labels on the thermostat, such as R, W, Y, G, C, and O or B, depending on your system. Match each wire from your heating or cooling system to the corresponding terminal on the thermostat. Use a screwdriver to secure the wires tightly to the terminals. Avoid over-tightening, which could damage the terminals. For dual-transformer systems, remove the factory-installed jumper if necessary. Double-check all connections to ensure they are correct and secure. Proper wiring is essential for the thermostat to function correctly and safely. Refer to the manual for specific wiring configurations tailored to your HVAC setup.
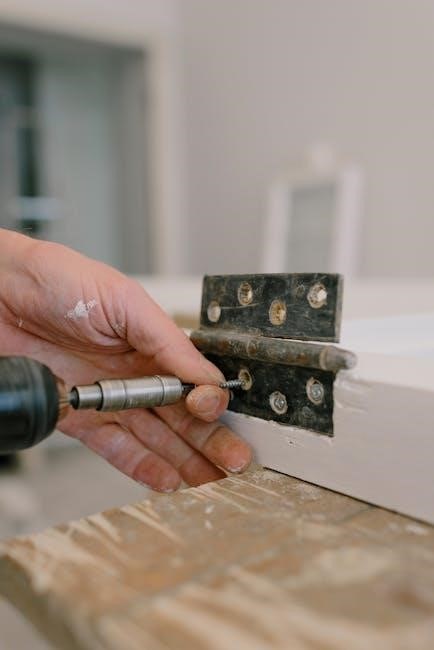
Mounting the Wallplate and Thermostat
To mount the Honeywell TH8321WF1001 thermostat, begin by separating the wallplate from the thermostat unit. Ensure the wallplate is properly aligned with the mounting screws or anchors provided. Drill holes in the wall if necessary, using the wallplate as a template for accurate placement. Secure the wallplate firmly to the wall using the screws. Once the wallplate is installed, attach the thermostat to it by aligning the tabs or clips, ensuring a snug and even fit. Make sure the thermostat is level to guarantee proper operation. Tighten the screws gently to avoid damaging the unit. After mounting, double-check that all connections are secure and the thermostat is visually aligned for a professional finish. Proper mounting ensures the thermostat functions accurately and maintains its aesthetic appeal.
Setting Up the Thermostat
After installation, configure installer options, set schedules, and enable Wi-Fi connectivity to ensure the thermostat operates efficiently and integrates with smart home systems seamlessly.
Configuring Installer Options
Configuring installer options is essential for optimizing the Honeywell TH8321WF1001 thermostat’s performance. Access the menu by navigating through the thermostat’s interface and selecting “Installer Options.” From there, you can set parameters such as system type (heat/cool), temperature ranges, and fan operation. These settings ensure the thermostat operates correctly with your HVAC system. Additionally, configure options like IAQ (Indoor Air Quality) settings and automatic changeover between heating and cooling modes. Properly configuring these options prevents issues like short cycling and ensures efficient energy use. Refer to the manual for detailed steps and specific settings based on your system requirements. This step is critical for achieving optimal performance and functionality of the thermostat in your home. Always save changes to ensure settings are applied correctly.
Setting Up Wi-Fi Connectivity
To establish Wi-Fi connectivity for the Honeywell TH8321WF1001, access the thermostat’s menu and select the Wi-Fi option. Choose your network from the list and enter the password using the touchscreen. Once connected, the thermostat confirms the link and syncs with the Honeywell Home app. Ensure your router is operational and the thermostat is within range for a stable connection. If issues occur, restart the device or reset Wi-Fi settings. For troubleshooting, check the network name and ensure it’s a 2.4GHz network if required. Proper connectivity allows remote monitoring and control via the app, enhancing convenience and energy efficiency. This setup enables seamless management of your home’s climate through the app’s features.
Post-Installation Checks
After installation, verify thermostat operation, test Wi-Fi connectivity, and ensure remote access functions properly to confirm successful setup and system integration.
Verifying Thermostat Operation
After installation, it is crucial to verify that the Honeywell TH8321WF1001 thermostat operates correctly. Start by checking the system mode (heating or cooling) and ensure it responds to temperature adjustments. Verify that the thermostat accurately displays indoor conditions, including temperature and humidity. Test the fan operation by toggling the fan switch and confirming it cycles on and off. Additionally, review the current schedule and ensure it aligns with your programmed settings. Check the equipment status to confirm proper communication with your HVAC system. Finally, ensure the thermostat transitions smoothly between heating and cooling modes, and that all installed features, such as Wi-Fi connectivity, function as expected. This step ensures your thermostat is fully operational and integrated with your home’s systems.
Testing Wi-Fi Connection and Remote Access
After completing the installation, test the Wi-Fi connection to ensure the Honeywell TH8321WF1001 thermostat connects to your home network. Open the Honeywell Home app, select the thermostat, and verify connectivity. Check if remote access is functional by adjusting the temperature settings through the app. Ensure the thermostat responds to these adjustments. If issues arise, restart the router, check the Wi-Fi signal strength, and confirm network credentials are correct. Additionally, verify that the thermostat’s firmware is up-to-date, as outdated software may affect connectivity. Successful testing confirms the thermostat is integrated with your smart home system, allowing seamless control and monitoring from anywhere. This step is essential for maximizing the thermostat’s smart features and ensuring reliable performance.
Maintenance and Troubleshooting
Regularly clean the thermostat and check Wi-Fi connectivity for optimal performance. Troubleshoot issues by restarting the device or updating firmware. Refer to the manual for detailed solutions.
Regular Maintenance Tips
Regular maintenance ensures the Honeywell TH8321WF1001 thermostat operates efficiently and reliably. Clean the device periodically with a soft cloth to remove dust and debris. Check Wi-Fi connectivity to ensure consistent remote access and updates. Restart the thermostat occasionally to refresh its system. Update the firmware whenever new versions are available to access the latest features and improvements. Inspect the battery levels if applicable and replace them as needed. Verify that all wiring connections are secure and undamaged. Schedule professional servicing annually to check for system compatibility and performance. These steps help maintain optimal functionality and extend the lifespan of your thermostat.
Troubleshooting Common Issues
Common issues with the Honeywell TH8321WF1001 can often be resolved with simple troubleshooting steps. If the thermostat display is unresponsive, check the power supply and ensure no circuit breakers have tripped. For connectivity problems, restart the router and thermostat, then reconnect to Wi-Fi. If the thermostat isn’t following the schedule, verify the settings and ensure the firmware is up to date. Clean the sensors periodically with a soft cloth to maintain accuracy. Check wiring connections for looseness or damage, and ensure all terminals are properly secured. If issues persist, consult the user manual or contact Honeywell support for assistance. Regular maintenance and updates can prevent many common problems, ensuring reliable performance.
The Honeywell TH8321WF1001 installation manual provides a detailed guide to successfully installing and configuring the VisionPro 8000 thermostat. By following the outlined steps, users can ensure optimal performance and functionality. For further assistance, Honeywell offers extensive online resources, including PDF manuals and user guides, available on their official website. Additional support can be found through customer service or authorized professionals. Troubleshooting common issues and regular maintenance tips are also covered in the manual. Refer to the provided instructions for specific configurations and updates. If issues persist, contacting Honeywell support is recommended for personalized assistance. This manual serves as a comprehensive tool to help users maximize the potential of their smart thermostat.